Installing Eclipse
Eclipse download:
Visit https://www.eclipse.org/downloads/eclipse-packages.
Select the appropriate platform and download the Eclipse IDE for Java Developers.
Here is what I did on a Windows 64-bit system to install a slightly older version of eclipse than is now available:
Install the Eclipse Installer -- choose windows 64 bit link of the first Eclipse IDE
Choose a mirror close to you
OSU Open Source Lab
Downloads eclipse-inst-win64.exe
Run this file.
Eclipseinstaller starts.
Click eclipse IDE for Java Developers
Click install button
(installs to C:\Users\nordquip\eclipse\java-mars)
Accept the user agreement.
(takes awhile)
Click Launch -- starts Eclipse
Running Eclipse:
- Select a workspace dialog appears
Eclipse workspaces are where all the files are stored.
In the file manager: Create a folder named EclipseWS in your cs257 folder
In the eclipse workspace launcher – browse to your EclipseWS directory.
OK
Click Workbench in the upper right corner of the window:

Make a Project:
File | New | Java Project
Type in Project Name – use a different project name (in a different directory) for each lab
Check ‘Use project folder as root for sources and class files’
Uncheck ‘Use default location’
Browse, make a new folder P:\CS257\Lab3, OK
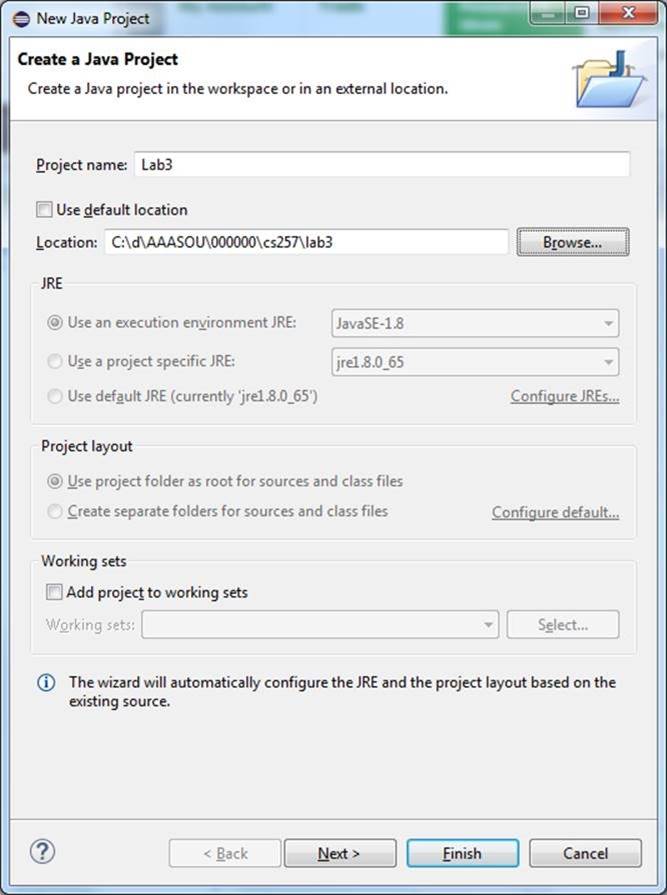
Next
Click Allow output folders for source folders checkbox:
Change ‘/bin’ to ‘/src’ in the Default output folder path
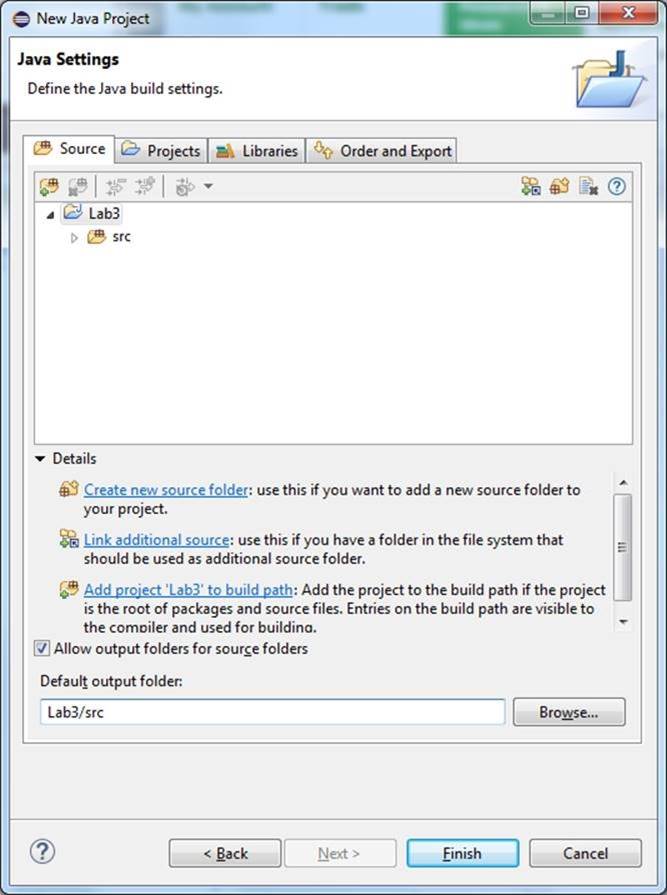
Finish
You should see something like (will not look exactly like this):

Notice you now have a project directory inside your workspace directory
File | New | Class
Leave ‘Package:’ blank
(Ignore the warning: the use of the default package is discouraged.)
Type in:
Name -- this is your class name
Click checkboxes:
Public static void main(String[] args)
Generate comments
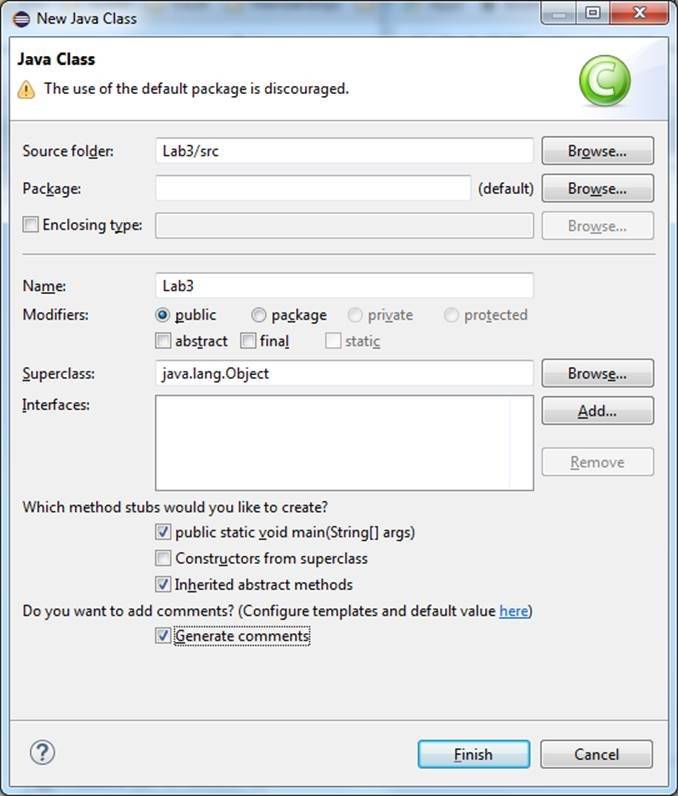
Finish
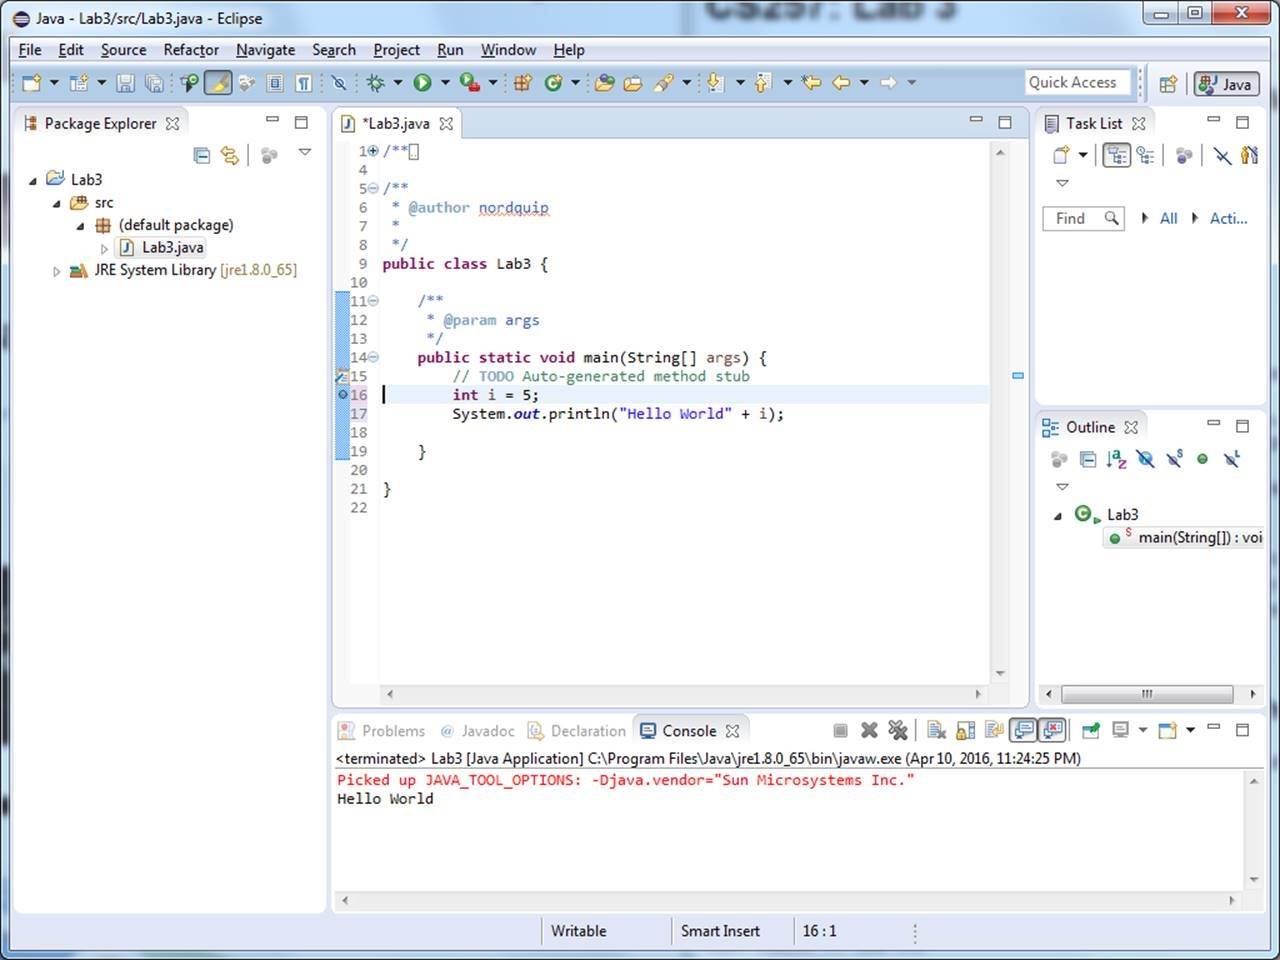
You should now see something like:
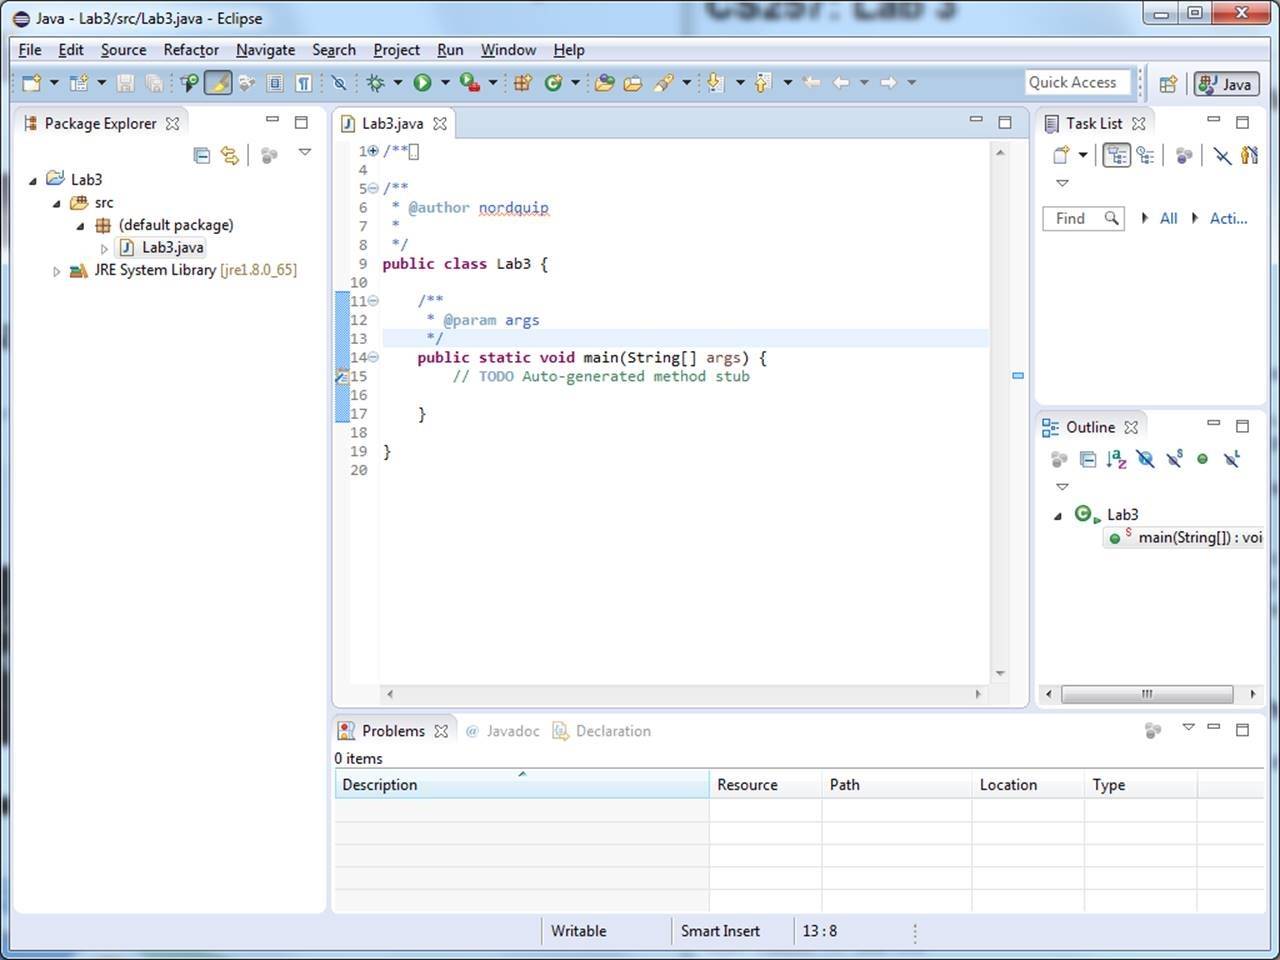
Type your program under:
// TODO Auto-generated method stub

Run it (Ctrl+F11) (notice – compile happened automatically as you were editing)
click “Always save before launching”
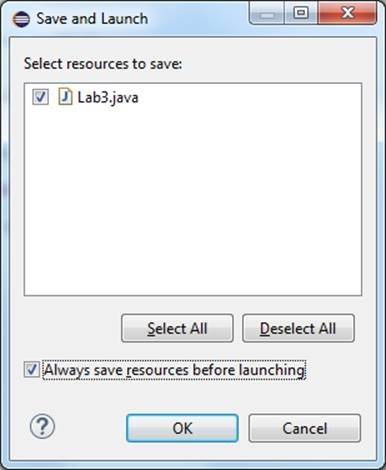
OK
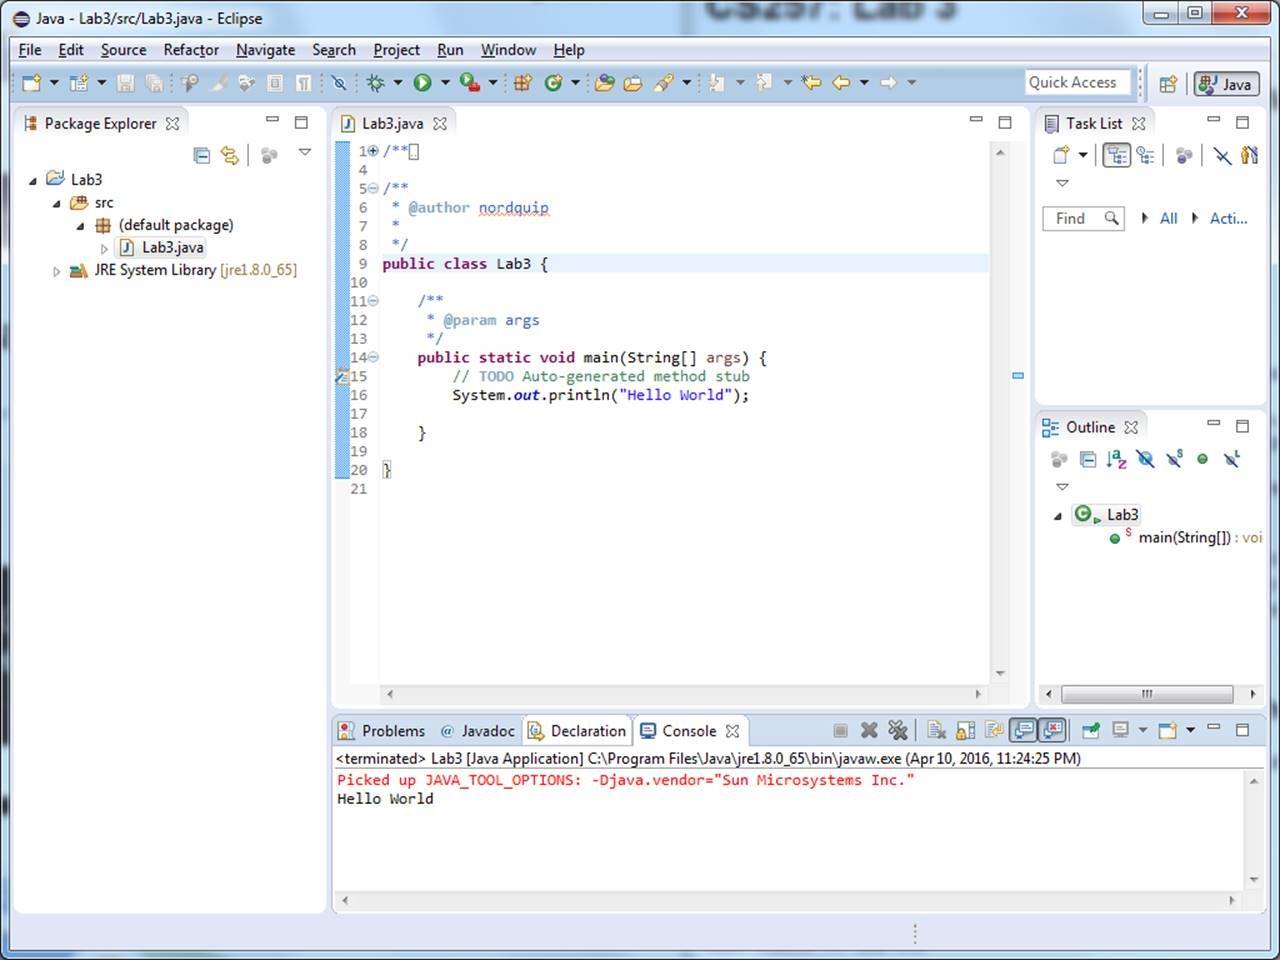
Voila – The output appears in the bottom window.
Add a local variable and initialize it.

Hover over the light bulb and warning sign – “the value of local variable i is not used”
Add a print of the value of i to the call to println()
Set Breakpoint:
R-Click on line number of the line declaring and initializing the variable.
Toggle Breakpoint (Ctrl+Shift+B)
Run Debug (F11)
If your firewall complains, click allow Eclipse to run
Click remember my decision
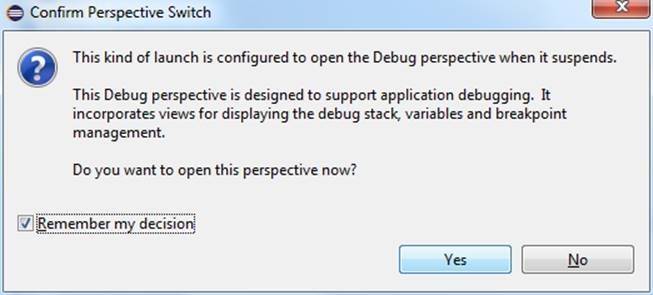
Yes
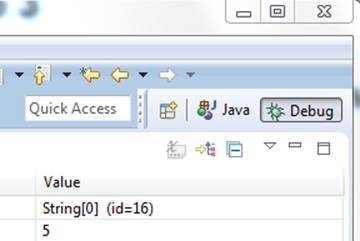
Notice local variable i is not present in the upper right window – it has not yet been initialized.
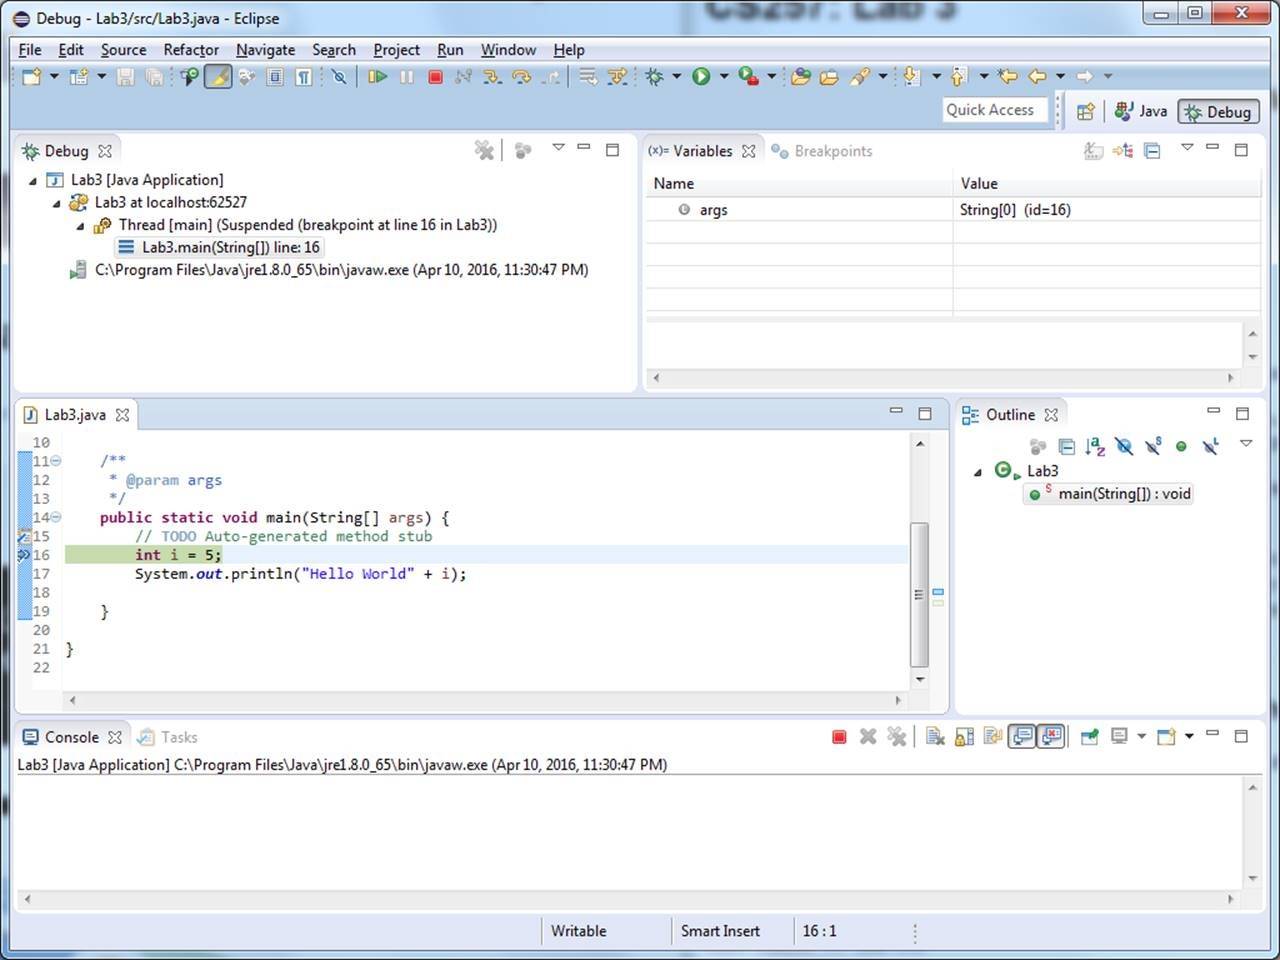
Step Over (F6)
Now i is present.

Click the red square in the console area at the bottom of the debug window. The debugger is marked <terminated>
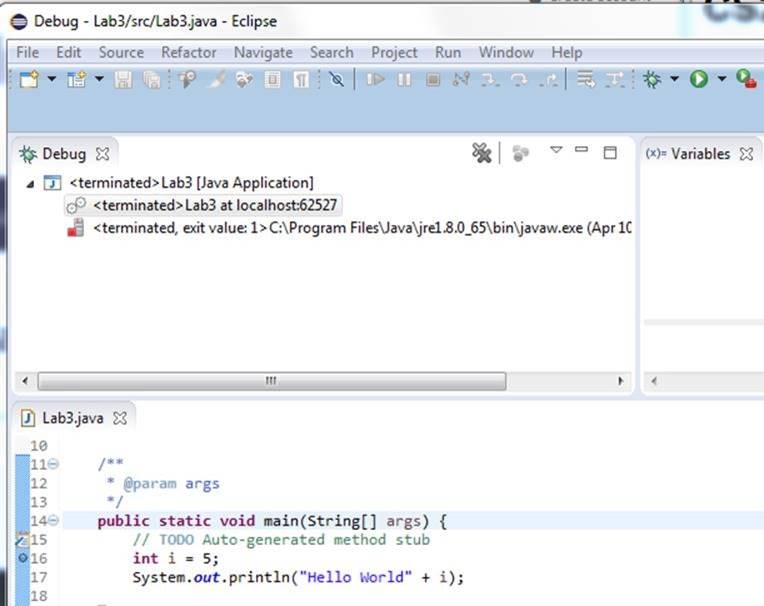
Click the Java icon to return to editing view:
You can find your .java and .class files in the ‘src’ directory under the ‘location’ directory you specified in the ‘New project’ step above.
Give the autograder the path to this src
directory.
Adding an existing
java file into an eclipse project:
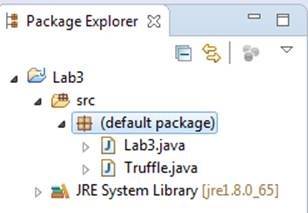
If you copy a java file into your location/src directory, in eclipse, you must R-Click on the (default package) icon | Refresh to see the new file.
Here I have copied Truffle.java into my Lab3/src directory.
You can also R-Click on the (default package) icon | Import | General to add files to your location/src directory.